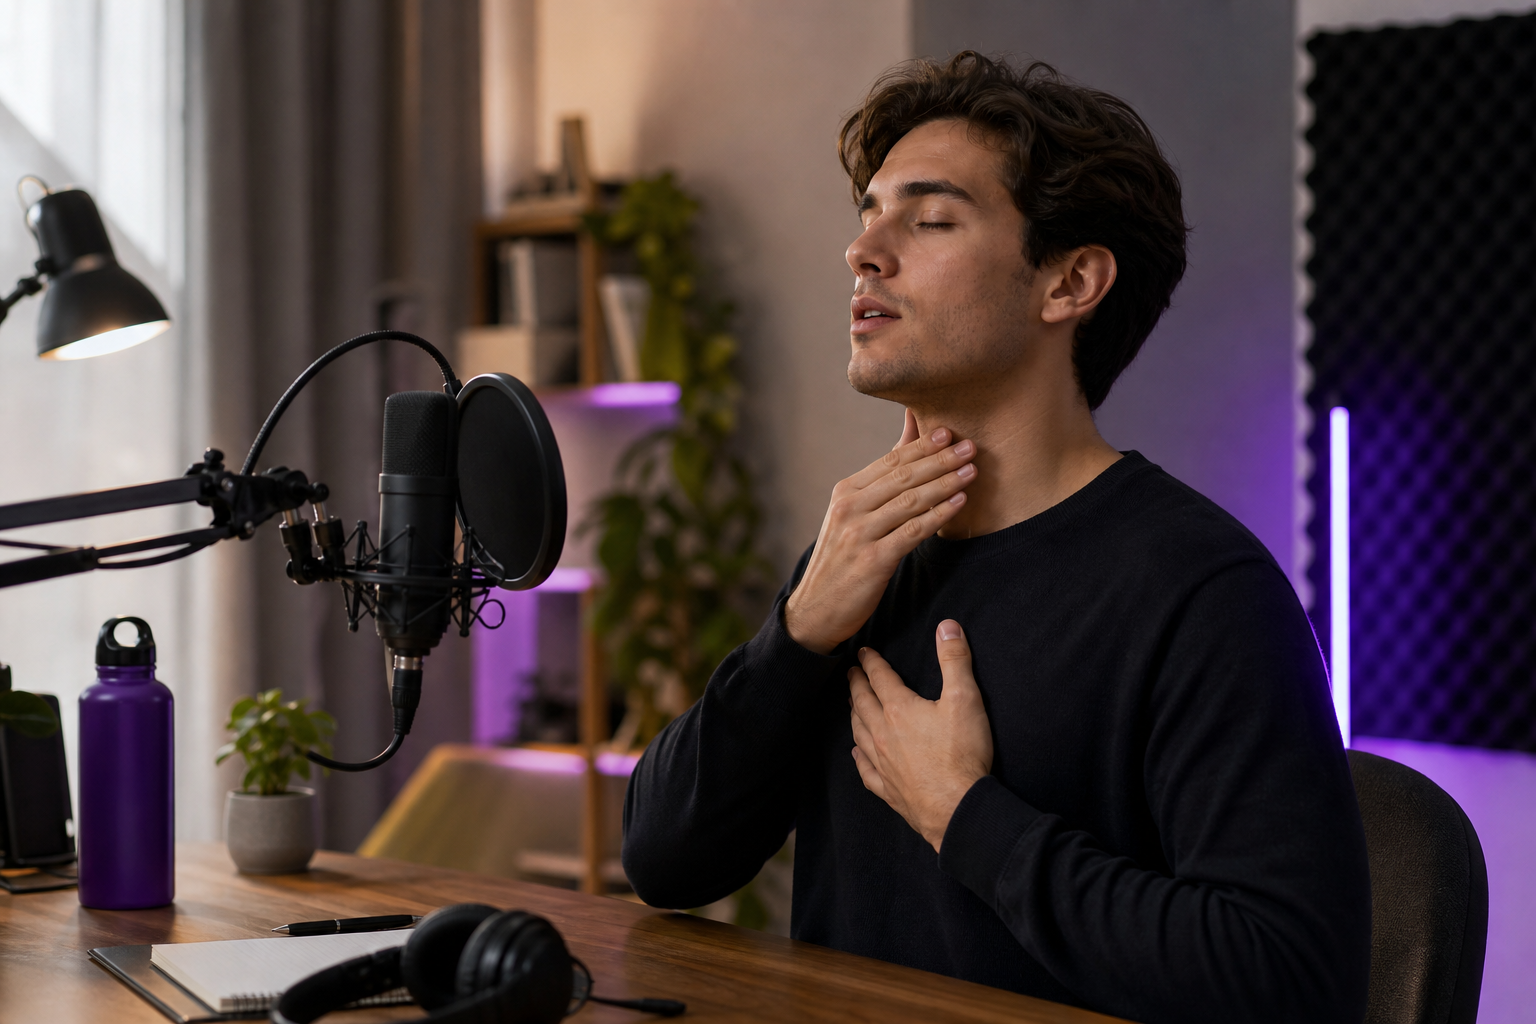
You hit record. You deliver two clean minutes of narration. Then you play it back and your voice sounds flat, gravelly, half a step behind where your energy should be — so you re-record, and twenty minutes vanish before you've saved a single usable take. These voice warm up exercises take about five minutes and exist to kill that loop. If you record for a living — YouTube, podcasts, e-learning modules, voiceover — you've probably treated your voice like a machine that just turns on. It doesn't. Professional singers and voice actors never walk to the mic cold, yet most creators do it every session. A study from the University of Miami's Frost School of Music found that 5 to 10 minutes of warm-up is enough to prepare the voice before a session — so the payoff here isn't a marketing promise, it's a documented benchmark. What follows is ten exercises, most of them fitting inside that five-minute window, plus what to do when you're producing the same content across multiple languages and your voice is already tired.

Table of Contents
- Why Cold Recording Wrecks Your Takes (and Your Vocal Cords)
- The 5-Minute Pre-Record Routine at a Glance
- The 10 Voice Warm-Up Exercises, Step by Step
- Matching Warm-Ups to Your Content Type
- Warm-Up Mistakes That Do More Harm Than Good
- Protecting Your Voice Across Long Recording Days — and Multiple Languages
- Your Printable Pre-Record Warm-Up Checklist
- Voice Warm-Up FAQ
Why Cold Recording Wrecks Your Takes (and Your Vocal Cords)
Your vocal folds are muscle and tissue, and like any muscle they work poorly when cold. Three separate mechanisms are working against you the moment you record without preparation, and understanding them makes the case for warming up better than any pep talk.
First, your vocal folds need blood flow. Cold, un-stimulated folds vibrate less efficiently and are far more prone to strain, according to guidance from the Antares Auto-Tune blog and artist-development firm Planetary Group. Lip trills and humming create light, low-impact vibration that drives blood to the folds and warms the surrounding muscles before you ask them to do anything demanding. Think of it as the difference between sprinting off the couch versus sprinting after a jog — same movement, radically different injury risk.
Second, your breath support has to be activated. The diaphragm is the engine behind every sustained phrase. When it's not engaged, you run out of air mid-sentence, your pitch sags at the ends of lines, and you compensate by pushing from the throat — which is exactly where strain lives. Diaphragmatic breathing, as the Antares blog explains, builds the control you need to carry a phrase to its end without gasping or squeezing.
Third, your articulation muscles need loosening. Tongue, lips, and jaw are muscles too, and cold ones produce muddy diction. Planetary Group and vocal educator blog That Sweet Roar both point to tongue trills and twisters as the fix — they wake up the tongue and lips so consonants land crisply instead of smearing together. Half the "why does my audio sound amateur" problem isn't your mic. It's a cold mouth.
Now the cost of skipping all this. Cold recording produces flat, low-energy takes you'll scrap and re-record — that's your afternoon gone. Over a long session, an unprepared voice fatigues faster, so quality degrades the longer you go. And take-to-take inconsistency, where your tone drifts because your voice keeps changing state, is a nightmare to level and edit later. None of these problems are dramatic on their own. Stacked across a full production week, they're the difference between finishing on time and burning out.
Your voice is the one piece of gear you can't replace or upgrade — warming it up costs five minutes; ignoring it costs your afternoon.
The credibility anchor for all of this comes from the University of Miami. Their Frost School of Music research found that warming up produced a clear self-perceived comfort benefit for singers versus not warming up, and that 5 to 10 minutes was sufficient to begin a session. Frank W. Ragsdale, D.M.A., chair of the Department of Vocal Performance at the school, put it plainly: vocally warming up "makes singing feel more comfortable," and teachers emphasize it to make performance easier and help avoid injury. You can read the University of Miami Frost School of Music research for the full framing.
One honest caveat, because it separates real advice from hype: that study measured self-perceived comfort, not objective acoustic metrics. So the accurate claim is this — warm-ups reliably make recording feel easier and reduce your strain risk, but they don't substitute for good technique and they won't fix vocal overuse. Grace Music School makes the same point: warm-ups reduce injury risk without curing poor technique. Treat them as preparation, not a cure.
The 5-Minute Pre-Record Routine at a Glance
Here's the entire sequence in the order you should run it, so you can screenshot this and do it before every session. The order isn't arbitrary — you start gentle with breath and low-impact phonation, then move to resonance and articulation, and only ask for range and volume once the voice is already awake. Going hard cold is precisely what causes strain.
- Diaphragmatic breathing — 45 sec
- Lip trills / bubbles — 30 sec
- Humming slides — 30 sec
- Yawn-sigh — 20 sec
- Jaw & facial release — 30 sec
- Tongue twisters — 45 sec
- Sirening / pitch glides — 30 sec
- Vowel sustains — 30 sec
- Volume ramps — 30 sec
- Hydration + steam reset — ongoing
Run top to bottom and you land right around the University of Miami five-minute benchmark — enough to prepare the voice, short enough that you'll actually do it. The full breakdown of how to perform each one, how long it takes, and what specific problem it fixes comes next. This list is sequence only, so pin it somewhere visible and treat it as the pre-flight check before you touch the record button.
The 10 Voice Warm-Up Exercises, Step by Step
Each of these voice warm up exercises targets a different subsystem, and together they cover breath, phonation, resonance, articulation, range, and projection in the order that protects your voice. A through-line worth knowing before you start: several of these — lip trills, humming, straw phonation, and vowel sustains — are semi-occluded vocal tract (SOVT) exercises. Partially closing the vocal tract creates back pressure that helps the folds vibrate more efficiently and with less strain, which is why the Barbershop Harmony Society describes SOVT work as excellent for reducing vocal fatigue and improving breath support. That's the reason this list works as a system rather than a random pile of tricks.
1. Diaphragmatic Breathing — Place one hand on your belly, inhale so the belly (not your chest) pushes out, then exhale slowly on a steady hiss. Run it for about 45 seconds. This activates the diaphragm and builds the breath control that keeps you from running out of air mid-phrase, as the Antares Auto-Tune blog describes. Every other exercise sits on this foundation, so don't skip it to save fifteen seconds.
2. Lip Trills / Bubbles — Relax your lips, then blow a steady stream of air so they flutter, gliding gently from a low pitch to a high one and back. About 30 seconds. This is low-impact resistance that drives blood flow to the folds and warms the vocal muscles without loading them, per both the Antares blog and Planetary Group. If your lips won't buzz, you're pushing too much air or clenching — loosen everything and try again.
3. Humming Slides — Hum at a comfortable pitch, then slide gently up and down through your easy range. Around 30 seconds. Humming is gentle and low-impact, activating the vocal muscles while improving pitch accuracy and intonation, according to Planetary Group. It's safe even for a fatigued voice, which is exactly why it also doubles as a between-takes reset later.
4. Yawn-Sigh — Simulate a big, wide yawn, then release it as a sigh on an open sound. Just 20 seconds. The yawn drops your larynx and releases throat tension, opening up resonating space and removing the tight, pinched tone that a high larynx produces — a mechanism the Antares blog explains clearly. If your recorded voice ever sounds strained and thin, this is often the missing piece.
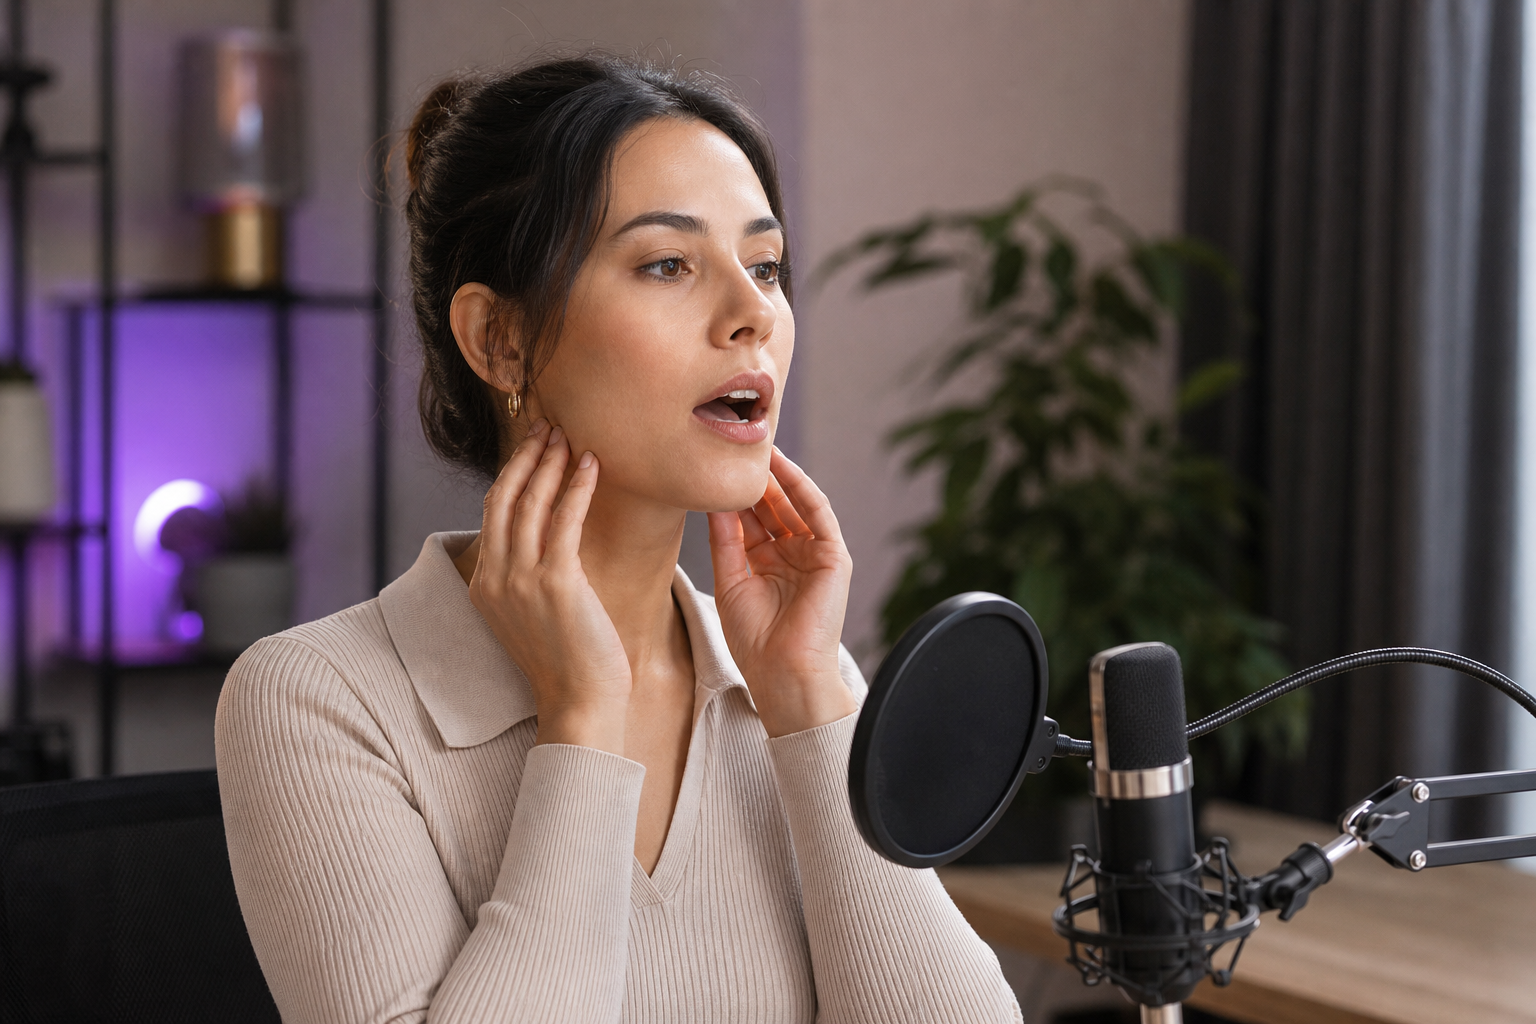
5. Jaw & Facial Release — Massage the hinge of your jaw with your fingertips, let the jaw drop loosely, then scrunch your whole face tight and release it a few times. About 30 seconds. This clears the tension that clenches your diction and flattens your tone. A tight jaw is a silent quality killer because you rarely notice you're doing it.
6. Tongue Twisters — Repeat lines like "red leather, yellow leather" or "unique New York," starting slow and building speed while keeping every consonant clean. Around 45 seconds. This articulation drill loosens the tongue and lips and improves diction and clarity — Planetary Group and That Sweet Roar both flag it as essential, and it's especially important for narrators and presenters who live on enunciation.
Diction fixes itself the moment your articulators are awake — half your muddy takes are cold-mouth problems, not talent problems.
7. Sirening (Pitch Glides) — On an "ng" or "ee" sound, glide smoothly up and down through your full range like a slow siren. About 30 seconds. This expands your usable range and smooths the transitions between vocal registers. Do it gently and never push into strain — the point is to explore the range you have, not force a new one cold.
8. Vowel Sustains — Hold pure vowels — ah, ee, oh — steadily and evenly for a few seconds each. Around 30 seconds total. Sustaining vowels warms the folds, mouth, and throat while improving resonance and tonal consistency, per Planetary Group. This one pays off directly on long narration segments where your tone needs to stay even for hours.
9. Volume Ramps — Take a short phrase and say it soft, then medium, then loud, then back down, keeping full control at every level. About 30 seconds. This builds projection control without the shortcut of shouting cold, which is how creators blow out their voice in the first ten minutes of a session.
10. Hydration + Steam Reset — Sip room-temperature water throughout, and optionally inhale steam before you start. Ongoing, not a timed step. Hydration conditions the folds, and it works best as a window, not a gulp — audiobook coach The Audiobook Guy recommends starting roughly three hours before you record and working through a 32 oz bottle across the session. Cold water and mid-session-only sipping won't get you there.


Matching Warm-Ups to Your Content Type
Not every creator faces the same vocal demands, so the exercises you prioritize should match the session you're actually recording. A five-minute YouTube intro and a three-hour audiobook chapter stress your voice in completely different ways, and treating them identically wastes time on one end and risks injury on the other.
| Creator Type | Priority Exercises | Typical Session | Key Risk to Manage |
|---|---|---|---|
| YouTuber / talking-head | Volume ramps, lip trills, jaw release | 5–15 min | Flat, low-energy delivery |
| Podcaster | Tongue twisters, vowel sustains, humming | 30–90 min | Muddy diction, tone drift |
| E-learning narrator | SOVT (straw/hum), hydration, vowel sustains | 1–3 hrs | Vocal fatigue, air loss |
| VO / character work | Sirening, lip trills, jaw release | Varies | Cold-range strain |
| Long-form corporate | Diaphragmatic breathing, hydration, humming | 1–3 hrs | Endurance, monotony |
The logic behind the table comes down to sprint versus endurance. A one- to three-hour e-learning or audiobook session is an endurance event, so hydration and SOVT work — straw phonation, humming, vowel sustains — matter most. This maps directly to the Barbershop Harmony Society's point that SOVT is where vocal endurance becomes critical, and to The Audiobook Guy's three-hour hydration protocol. Your risk isn't a bad first take; it's your voice degrading in hour two.
A punchy 10-minute YouTube intro is the opposite: it's a sprint. Projection and energy carry the take, so volume ramps and lip trills do the heavy lifting while endurance barely factors in. Voiceover and character work stress range and flexibility above all, which puts sirening and lip trills at the top. And podcasters, who record conversationally for the better part of an hour, live and die on diction and tonal consistency — tongue twisters and vowel sustains keep both from slipping as the episode runs long. Match the warm-up to the workload and you stop wasting effort on risks you don't actually face.
Warm-Up Mistakes That Do More Harm Than Good
A warm-up done wrong can be worse than no warm-up at all. These are the errors that quietly undo the work — and most creators make at least two of them.
Pushing your range cold. Jumping straight to full-range sirening or belting before any gentle phonation is a direct invitation to strain. Voice-acting and singing practitioners on Reddit's r/singing and r/VoiceActing consistently give the same advice: start gentle and increase intensity gradually, but never go to the point of strain. The whole reason the sequence puts breath and lip trills before pitch glides is to stop you doing this.
Skipping hydration. Warming up a dehydrated voice is like stretching a dry rubber band — the tissue simply isn't ready to move. The Audiobook Guy's protocol of starting roughly three hours out and working through a 32 oz bottle exists precisely because the folds need to be hydrated before you record, not rescued with a single sip halfway through. Hydration is a slow-loading system, not an on-switch.
Warming up, then waiting 30-plus minutes to record. The benefit fades. If you warm up and then get pulled into an email thread or a gear problem for half an hour, you've essentially reset to cold. Warm up close to record time, and if you get delayed, do a quick 60-second re-warm with lip trills and humming before you start.
Mouth-breathing and bad posture. Slouching collapses your breath support, and habitual mouth-breathing dries out the throat you just prepared. Diaphragmatic engagement needs an upright spine and an open ribcage — you can't power a phrase from a folded-over posture. Fix your chair before you fix your voice.
Treating warm-ups as a cure for technique problems. This is the big one. Grace Music School notes that warm-ups reduce injury risk but don't override poor technique or overuse. Soprano and speech-language pathologist Stacey Menton makes the parallel point: a good warm-up gets you ready, but faster or more demanding material needs dedicated coordination work beyond the warm-up itself. If the same passages keep failing after a solid warm-up, the answer is technique practice, not more trills.
Protecting Your Voice Across Long Recording Days — and Multiple Languages
A five-minute warm-up gets you to the mic in good shape. Staying there through a multi-hour day — or several days of production — is a separate discipline, and it's where most vocal injuries actually happen. A few habits keep your voice intact across a long session:
- Mini re-warm-ups between takes. You don't need the full routine every time you step away. Thirty to sixty seconds of lip trills and humming keeps the voice primed without over-working it, and it re-engages the folds after a break so your first take back isn't cold.
- Rest intervals. Take real breaks during long sessions. Practitioners in r/VoiceActing specifically recommend scheduled breaks to avoid damage on long recording days — pushing straight through for three hours is how you end a project with a raw throat.
- Know when to stop. Hoarseness or a scratchy sensation is a signal to end the session, not a hurdle to power through. Warm-ups reduce your risk but can't erase overuse, as Grace Music School points out. A voice you rest today records tomorrow; a voice you push today may cost you a week.
- Hydration as an all-day habit. Reinforce the three-hour-ahead, 32 oz approach as a full-day practice rather than a one-time sip. Your folds stay conditioned only as long as you keep them that way.
Now the part that quietly doubles your vocal load: recording the same content in multiple languages. Every language you re-record is another full session on a voice that may already be tired from the first pass. Do that across four or five languages and you're not warming up once — you're running the endurance gauntlet repeatedly, often with worse technique in languages you don't speak natively. That's a vocal-health problem, not just a scheduling one.
There's a workflow answer. Instead of re-recording everything yourself in a cold or fatigued voice, you can record once and localize with AI. AI Dubbing translates and dubs your content into other languages, and voice cloning preserves your own vocal identity from a short sample — so your localized versions still sound like you, without the physical wear of re-reading the whole script in five languages. For narration-heavy workflows where you'd otherwise strain your voice reading long scripts aloud, Text to Speech handles the reading entirely. The warm-up protects the recording you do make; the AI removes the recordings you shouldn't have to make at all.
The best warm-up for your second language isn't your voice — it's a system that lets you record once and localize everywhere.
Your Printable Pre-Record Warm-Up Checklist
Copy this, tape it next to your mic, and run it before you hit record. It's self-contained, so you don't need to scroll back through the article to use it.
Warm up (≈5 min):
- Diaphragmatic breathing — 45 sec
- Lip trills — 30 sec
- Humming slides — 30 sec
- Yawn-sigh — 20 sec
- Jaw & facial release — 30 sec
- Tongue twisters — 45 sec
- Sirening / pitch glides — 30 sec
- Vowel sustains — 30 sec
- Volume ramps — 30 sec
- Sip water — ongoing
Before you hit record:
- Water within reach, and you started hydrating hours ago — not at the mic
- Sitting or standing upright, ribcage open, shoulders down
- Quick room check: no fan or AC hum, mic at mouth height
- If you got delayed after warming up, run a 60-second re-warm (trills + hum)
For long or multilingual projects, the smartest move is to let your voice do the work once. For content you'd otherwise re-record in another language, localize it with AI instead — developers and agencies can build that directly into their pipeline with the AI Dubbing API.
Voice Warm-Up FAQ
How long before recording should I warm up?
Warm up right before you record — ideally within 5 to 10 minutes of hitting the mic. University of Miami research found 5 to 10 minutes is enough to prepare the voice for a session. If something delays you past roughly 30 minutes, don't trust the old warm-up; run a quick 60-second re-warm with lip trills and humming before your first take.
Can voice warm up exercises fix a hoarse or tired voice mid-session?
Not really — hoarseness is a stop signal, not a problem to warm through. Gentle SOVT exercises like humming and straw phonation, plus steady hydration, can ease mild fatigue, but persistent hoarseness means rest, not more exercises. The Barbershop Harmony Society and Grace Music School both stress that warm-ups reduce risk without erasing overuse.
Do I need to warm up for short recordings or just long ones?
Even a 10-minute YouTube intro benefits. A cold voice sounds flat and forces re-records, which eats far more time than the warm-up would have. For short work, prioritize projection and energy with volume ramps and lip trills. Save the full endurance-focused routine — hydration, SOVT, vowel sustains — for the long sessions where fatigue is the real threat.
Is warming up necessary if I use AI voice cloning or text-to-speech?
For AI-generated narration, no vocal warm-up is needed at all — the model does the speaking. If you clone your voice from a short sample, warm up before recording that sample so the clone captures your voice at its best, then let AI handle every version after that. Teams building this into a product can integrate the Voice Cloning API so the sample-to-clone step lives inside their own workflow.